Homemade chocolate ice cream: simple, creamy, and dangerously good.


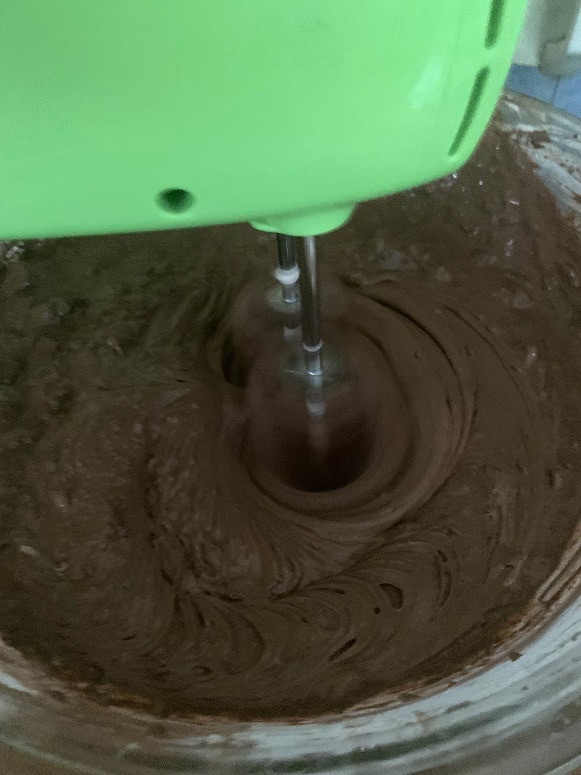
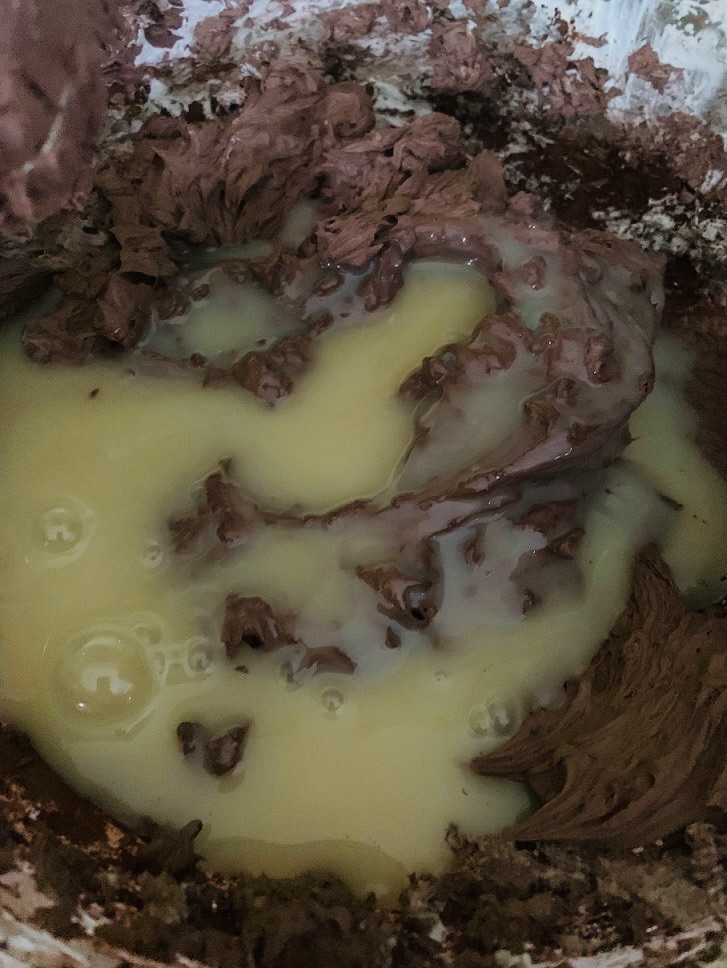


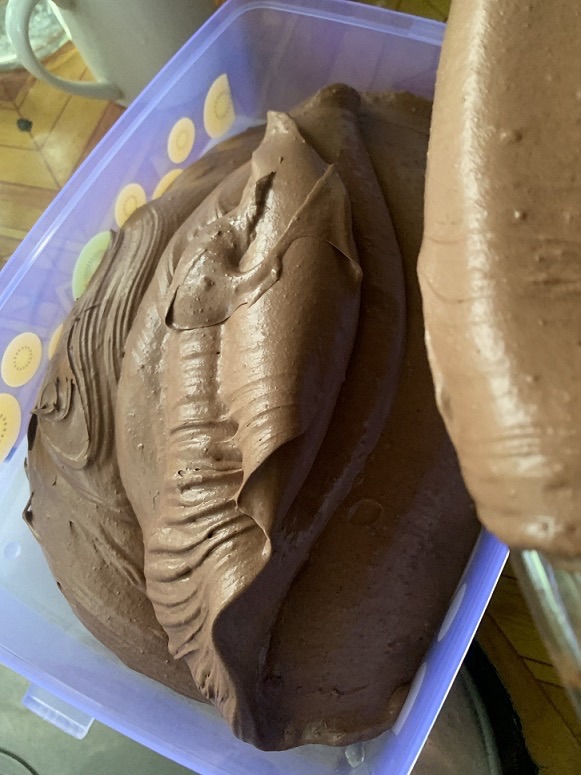
I tasted the ice cream after letting it set for four hours, and the result was perfectly creamy and delicious.❤️

Homemade chocolate ice cream: simple, creamy, and dangerously good.
I tasted the ice cream after letting it set for four hours, and the result was perfectly creamy and delicious.❤️


**********************************************************************************
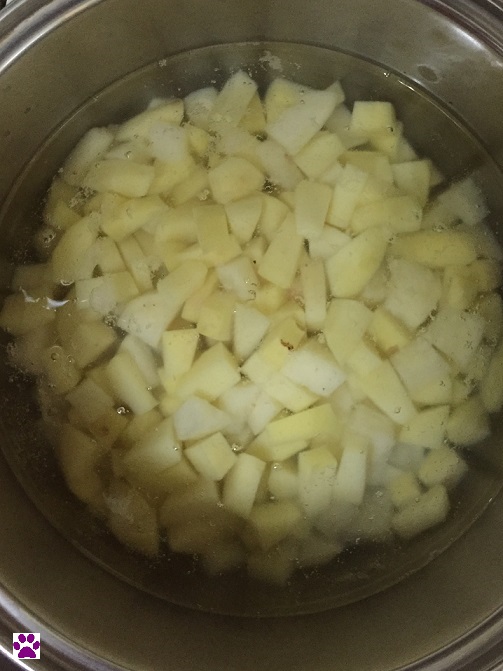

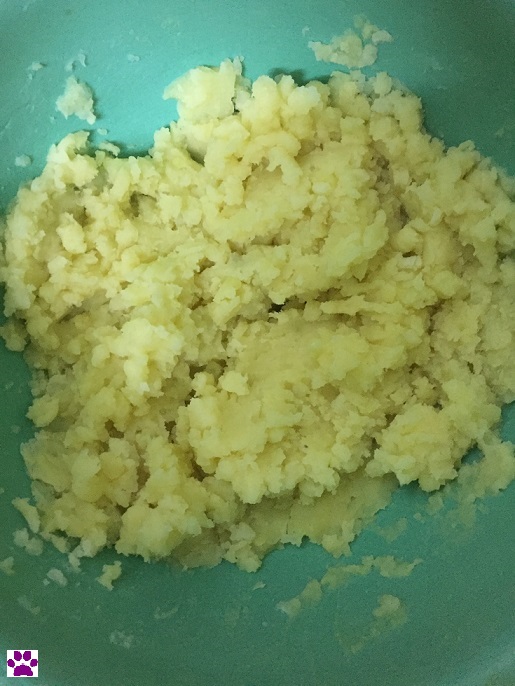
Yeah, just sMash the potatoes and let go of your frustration.

Give it a good mix and then add 1/4 beaten egg.

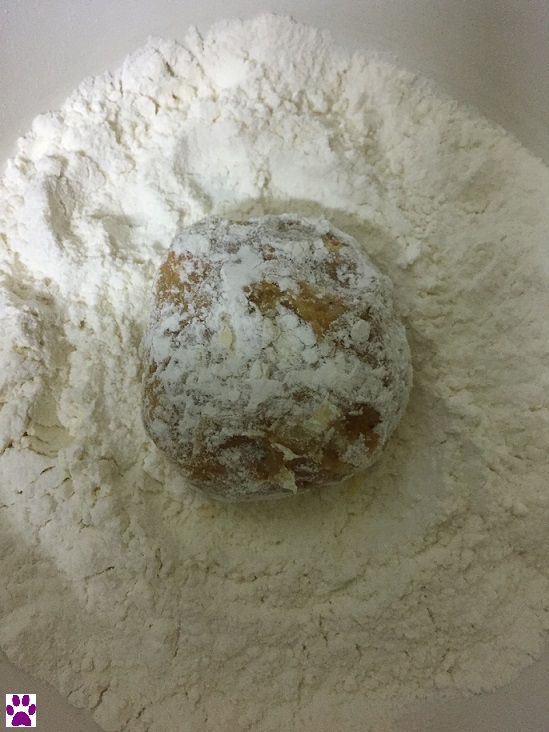
Do I look like a snowman?
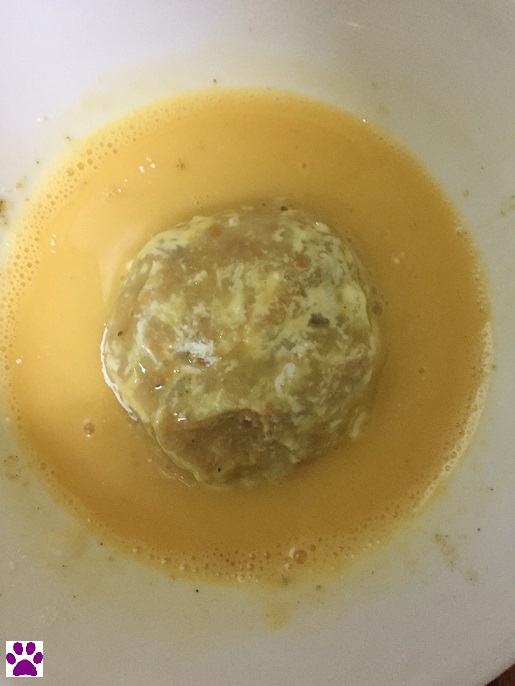
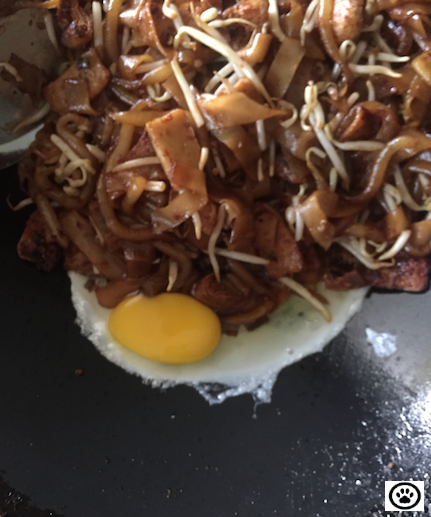
Now the yolk’s on me.
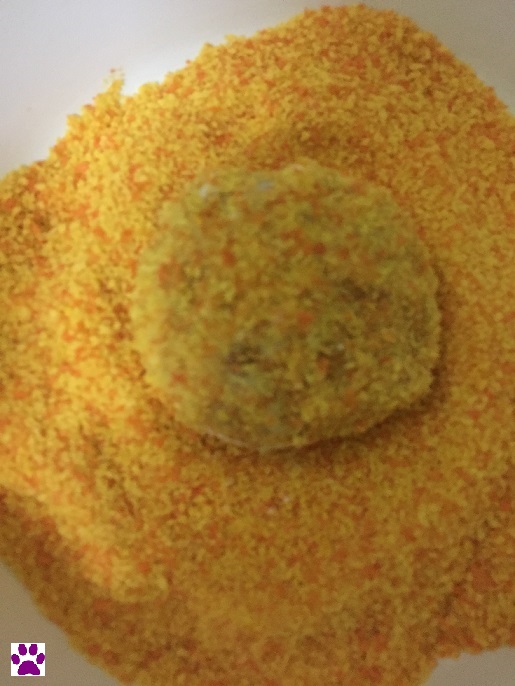
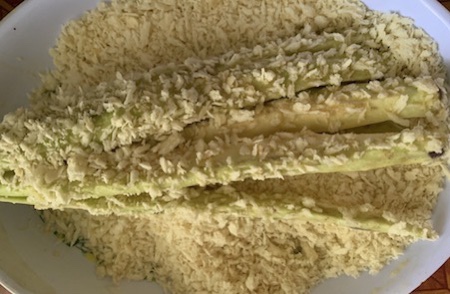
Look at the crumbs all over me.
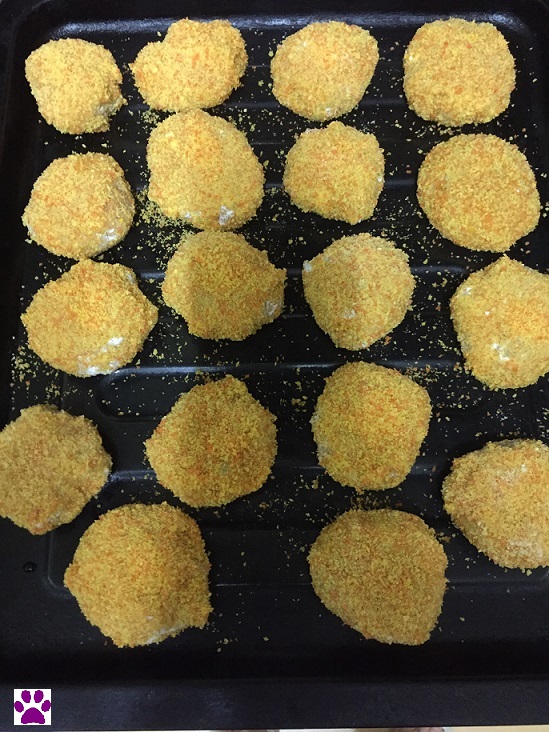
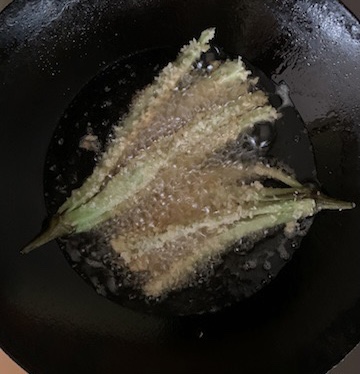
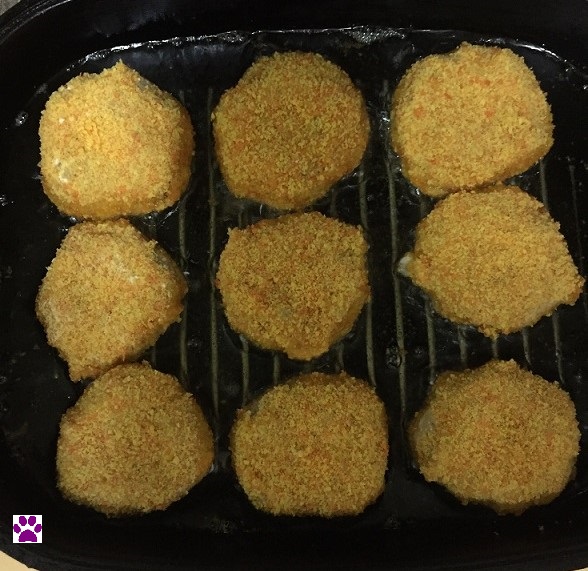
We’re ready to be fired….errr I mean fried
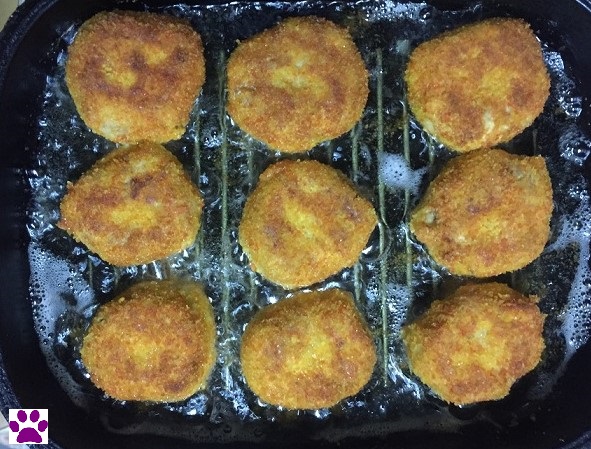
Flip them over…looking good.


And Shaye says, “yummy for my tummy.”

Ahhh….fresh from the oven. Yum!


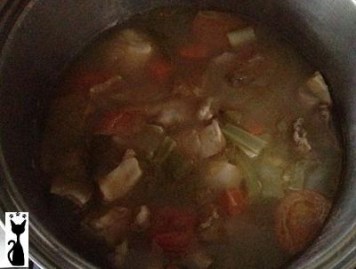

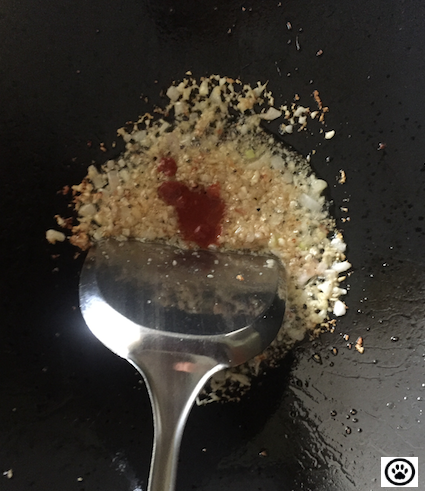
Pour some olive oil. Saute onion, garlic and bacon

Add a can of tomatoes

Stir and add some black pepper and salt

Pour in the rice[pre-cooked]
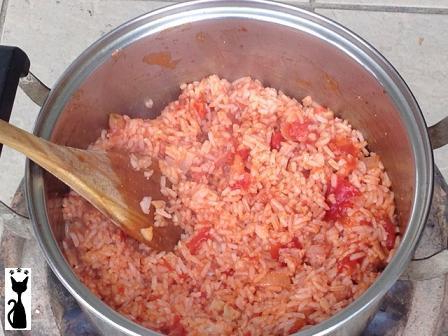
Give it a good mix. Remove pot from stove and cover it for about 10 minutes.
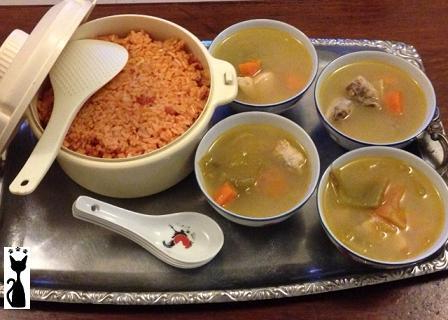
Lunch is served! Loved the smoky taste!
Bon Appétit


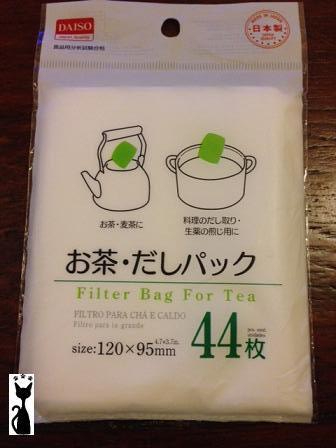

Care to join me for some Boricha? [www.pinterest.com]

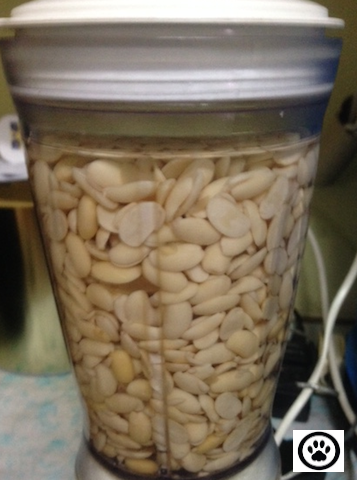
“I’ve bean drinking of you.”


… homemade Challah.

I found this recipe (Challah in a bag) on Youtube and it is so easy to make. You can try it too! ٩(*ゝڡ◕๑)۶♥
